Error message

  • Warning: "continue" targeting switch is equivalent to "break". Did you mean to use "continue 2"? in include_once() (line 1389 of /Library/Server/Web/Data/Sites/Documents/jonathansblog/includes/bootstrap.inc).
  • Warning: "continue" targeting switch is equivalent to "break". Did you mean to use "continue 2"? in require_once() (line 341 of /Library/Server/Web/Data/Sites/Documents/jonathansblog/includes/module.inc).

Warning message

The service having id "facebook_widget" is missing, reactivate its module or save again the list of services.

nas

Synology DiskStation Audio Station

I've had the DiskStation running for a week now and I keep finding a whole set of new features. The device is a fully fledged media server offering a streaming service for a variety of media types, photos, audio, video and even security cameras.

I'm interested in how this device can be used in the school environment to share both learning resources and the digital creativity work that the pupils produce. The latter is such a big issue for me because so much work is created by pupils, yet there are few opportunities where this work can be shared, nevermind even accessed by a wider audience. I think the Synology DiskStation is about to change all that.
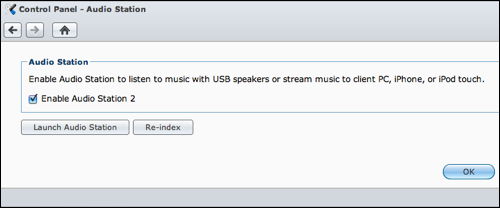
Audio Station

Starting the Audio Station service is easy. Simply find the application in the Control Panel and check the box.

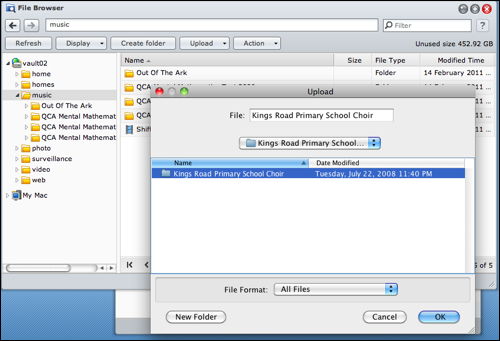
Files to be shared are uploaded using the File Browser window. You can establish your own file system should you wish, or simply point your upload to a folder containing the media you wish to upload and the whole process is managed efficiently and effortlessly.

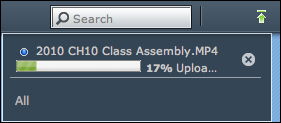
A progress bar shows what items are in the queue and also upload progress.

Once uploaded, you can view the collection of folders and files through the File Browser window.

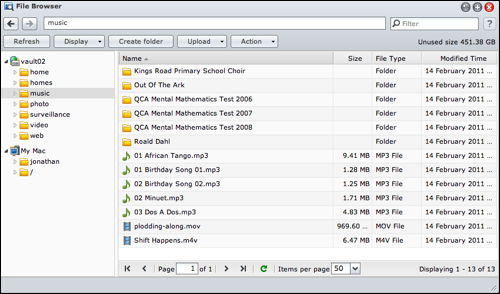
However, this is only the storage of this media. What about being able to play this media across the Ethernet or Wireless network?

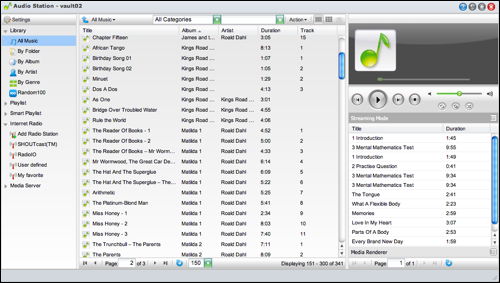
The DiskStation software allows the media to be streamed to device in several ways. Using the web interface, the media can be played through the Audio Station software which is essentially presented with a similar interface to iTunes. A neat solution for cross-platform compatibility since the display will appear identical on a Mac or Windows PC. Furthermore, in a school setting, this requires less training in order to use the software.


What I REALLY like about the DiskStation however, is the way in which multiple devices can access this same playlist. Here is the view on my iPhone 4....


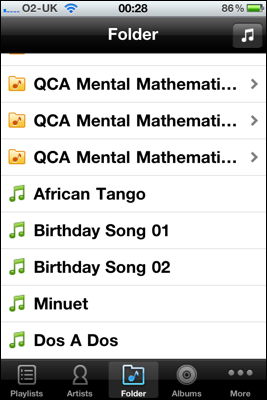
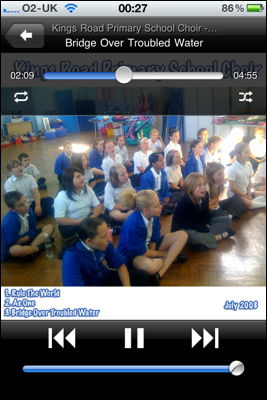
This is staggeringly good. It makes me reflect on how we can simply do away with CDs being used here and there, skipping and jumping because the scratches from heavy and continued usage. Plugging a computer, an iPhone, iPod or an iPad into a sound system would just work. All of this works across the WIFI network.

The DS audio app is the player for the iPhone/iPad/iPod and is a free download from the iTunes Store.

...and finally. What better way of accessing shared music from a central source, than to make it available to the iTunes Streaming Service?

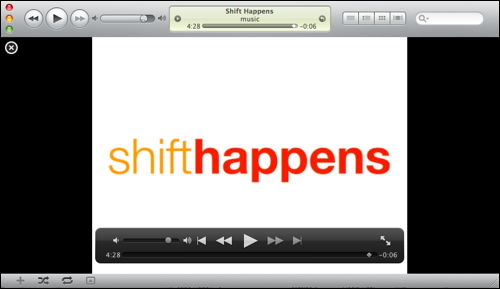
Here is my iTunes application on my Mac listing the contents of the iTunes library...

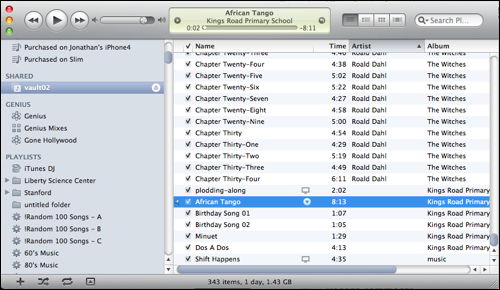
...and below, accessing and playing the "Shift Happens" film. 


This DiskStation is staggeringly good and so effortless to implement, administer, control and access.

Already, I am uploading videos that pupils have made, films that pupils are watching for the From Screen to Page writing programme and audio that might be used around the school and across the curriculum.

Learning really can be this exciting.

I can't wait to begin exploring yet another feature, which will probably wait until the next blog update!

Synology's DiskStation NAS has arrived.

Synology's new DiskStation DS211 arrived last week. I've been interested in NAS (Network Attached Storage) for some years, and have found a few units which live up to what I consider are the demands of being a useable NAS.

Here is my quick starter for 10:

  1. Fast. Reading and writing data has to be snappy. Since the NAS is likely to be a large central store of a variety of data, audio, video, software installers, backups, fast read/write speeds are essential. Particularly with video when multiple users are watching two different films whilst a TV programme is being recorded.
  2. Access from multiple platforms. Essential in a setup involving multiple operating systems. On my computer alone, it triple boots into Mac (much preferred) Windows (urggh!) and Linux (Mmmm)
  3. Be expandable. My demand for storage space increases exponentially. Simply buying a NAS drive only for it to be full within a year isn't cost effective. A NAS really ought to have two drive bays for expansion.
  4. Quiet and energy efficient. This is one of few devices that is left on 24/7, and for obvious reasons needs to use as little energy as possible when idle.

In addition to the above, this enclosure received a good review in a recent MacUser article and I was interested in the customisable applications that extend the capabilities of the NAS. There are some neat tools that enable the iPhone to connect to the drive and access the media that is stored. More on this in a future blog article.

So, the first job was to install the hard disks into the NAS enclosure. NAS units bought directly from Synology are empty enclosures leaving the consumer to choose which bare drives to buy separately according to their needs.

Opening the white plastic case was simple enough, the side panel slides and lifts away. Bare drives are screwed to the chassis using standard screws, included.

Once powered, the NAS drive springs into life. Make sure the device is plugged into your network router or hub.

Unlike most products, scanning the network to find the dynamically assigned IP address of the drive is usually process, but as I discovered, not only do you need to scan the Quick Setup Guide, but also use the CD to run the Synology Assistant software. Both were easy to navigate. A Setup Wizard guides you through uploading the Disk Station Manager software. It takes less than 2 minutes to install everything.


Once complete, settings for the DS211 are changed using the web browser interface. I like setups using web browsers because it means settings can be changed remotely on any computer without having to download proprietary software. Nice.

Before any of the apps can be configured, a volume must be created. Incidentally, I ticked the 'check hard disk' option and this looks like it might take some time. So, that's where I'll leave this blog. Check back for more later...


Very few ports on the back. 1Gbit Ethernet, 2 USB and Power. Simple.


Subscribe to RSS - nas