One of the first developments as Head Teacher at my new school, Ivy Chimneys Primary School is to introduce a large LED screen in the foyer area to display information about the school and to share children's work.
After a summer of exploring lots of digital signage solutions, many of which were very pricey and were either far too complex for what I needed to achieve, or didn't quite fit the bill.
My specification was simple:
* affordable solution, meaning high impact on learners, low impact on budget.
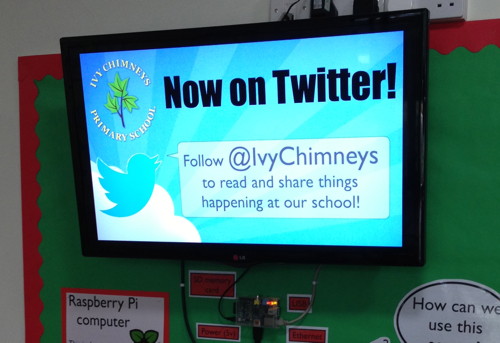
* the screen needs to reflect the life of the school, displaying key messages and to share children's work.
* maintaining the screen needed to be simple, so that uploading new 'pages' is quick and easy.
* both children and staff are able to administer the screen.
I'm a true believer in 'pupil voice' and the very reason schools exist is to provide opportunities for children to learn new skills. One of the best ways to achieve this is to involve them in the process of learning at every opportunity. I am also intent on building a community of learners who are thinkers and who are able to reflect on their successes and be self-critical on finding improvements too.
When children feel success, they should have a place for celebrating and feeling proud of their achievements. This screen is just one of those places.
The Solution
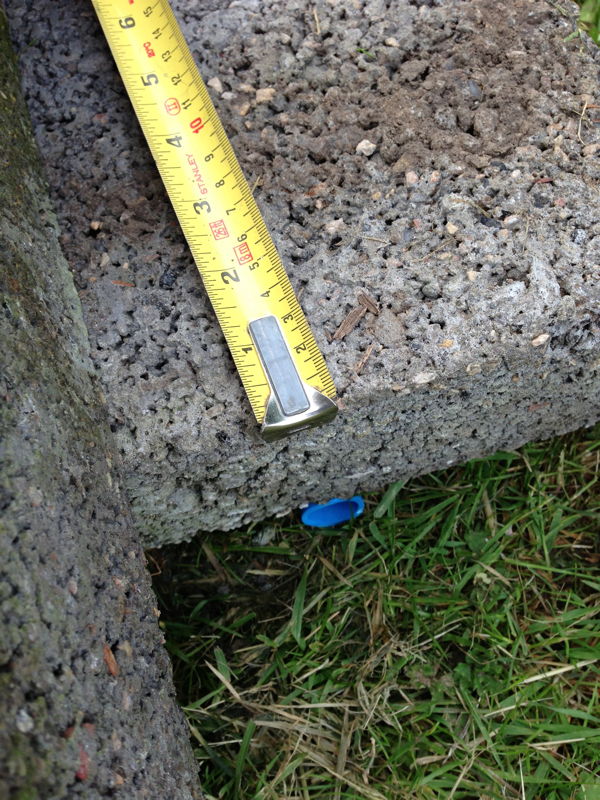
It occurred to me that the Raspberry Pi costing just £25 coupled with a large 32" LED screen would be one of the cheapest options available. Of course the Raspberry Pi alone isn't the solution, because it is just the computer and operating system. The Raspberry Pi has several HUGE advantages:
- cost effective - only £25.
- tiny size (footprint no bigger than a credit card)
- negligible power consumption (just 2 watts)
- onboard HDMI graphics adaptor which makes connectivity very straightforward.
- runs Raspbian Wheezy which is a flavour of Debian - a very reliable operating system.
I bought an LG 32" LED HD TV from Richer Sounds, Romford with a wall mount bracket. It has all the standard connections but of particular importance are the two HDMI connectors. A standard HDMI cable connects the Raspberry Pi to the TV.
I did note that the TV also has a USB socket, which provides enough power to run the Raspberry Pi, but unfortunately this port only provides power when the screen is on, i.e. not in standby. A real pity since the whole project would then only need one 240v plug socket.
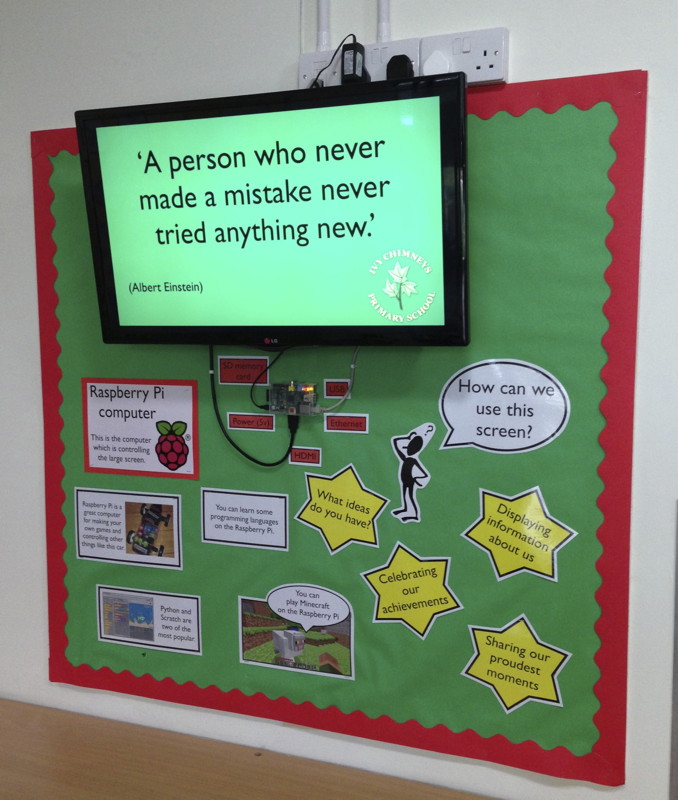
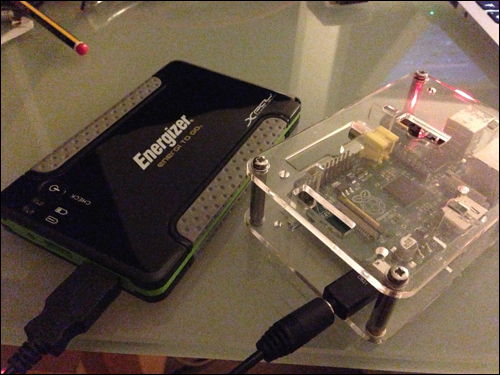
When I started this project, I knew I wanted children to be able to engage with the technology and an earlier decision was to display the Raspberry Pi rather than to tuck it carefully, out of sight, which would have been so easy to do.
Instead, I choose a transparent case, and mounted it on the wall beneath the screen. As you can see in the photograph, I have even labelled the ports to make the wall display as informative as possible. Only 1 week into the new term, and children have been drawn to want to find out more about how it all works.
Software
After much testing of different operating systems, starting first with the RaspBMC, I opted to run the Debian Wheezy installation. The RaspBMC is an XBMC Media Centre system which offers plenty of advantages. I initially used the Screensaver plugin to load images from a folder and present them based on the timing settings selected. This would be an ideal solution, especially since RaspBMC also supports AirPlay technology enabling the screen to take a AirPlay feed from an iPhone or iPad.
However, having found a similar solution using the X windows system in Raspbian Wheezy, I felt that I had greater flexibility in using the Pi to perform other tasks, not just the screensaver. I also had greater control over finding a mechanism of being able to access the folder of images across the network and reloading the image 'set' during the slideshow.
In the end, Raspbian Wheezy was the operating system of choice. I enabled a couple of options from the
raspi-config page
Start desktop on boot? - YES
Enable SSH? - YES
Display
I discovered that an image viewer application called 'feh' would be ideal for this project. Feh can run from the command line and has several configuration settings to tell it how to behave. Within the config you simply point feh to a folder from which to display images. Simple.
1. First install feh.
sudo apt-get install feh
2. To start the slideshow, simply run the command:
/usr/bin/feh --quiet --recursive --randomize --full-screen \ --slideshow-delay 5 /home/pi/frame/photos/
the commands are fairly self-explanatory. The digit '5' tells feh how many seconds to wait before loading the next image.
Because the application 'feh' runs in the X windows environment (startx) the mouse cursor was visible on the screen whilst the photos were being displayed. I found a way around this, by installing 'unclutter'
sudo apt-get install unclutter
Uploading photos to Pi
This was solved by using a pre-packaged PHP application called KCFinder. What's really nice about this tool is its ease of install and simplicity of operation. All I wanted was a tool which was web based, enabling anyone with a web browser to upload & delete images on the Pi.
First I needed to install the Apache webserver.
apt-get install apache2
and also the PHP interpreter with GD for graphics support.
apt-get install php5-gdI then downloaded and copied across the KCFinder files.
I configured the KCFinder config file to ensure the upload directory was pointing to the same folder that feh used to load the images for slideshow.
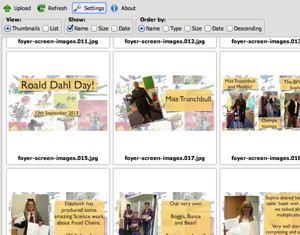
Bingo! When I go to the Pi hosted web address of KCFinder, I can simply drag and drop images into the browser window to upload. What's more, as the images are uploaded, thumbnails are created which allows me to see which image is which.
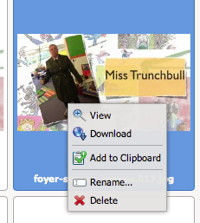 I can also delete images from this folder, so when it comes to deciding which images to keep in the slideshow, this is quite straightforward.
One thing to be aware of, however, is that feh loads its images on startup, when the application is first run. This means that if you add images to the folder, feh doesn't know about them unless you restart the application.
This led me to script feh. I needed to do this for several reasons, one, so that it automatically starts on boot. Second, to enable me to restart after adding or removing images from the slideshow folder.
I ended up with two scripts.
starting the slideshow:
#!/bin/sh
#
# Script to run Digital Signage Solution using Feh
# jonathan@learningspaces.net
#
# hide the cursor after 15 seconds
/usr/bin/unclutter -idle 15 &

# Start slide show
/usr/bin/feh --quiet --recursive --randomize --full-screen --slideshow-delay 7 /xxx/xxx/foyer/upload/files/ &

exit 0
reloading the slideshow:
#!/bin/sh
#
# Script to run Digital Signage Solution using Feh
# jonathan@learningspaces.net

#export DISPLAY=:0

# Stop the currently running Slide show

kill `pgrep -f "feh"`

sleep 10s

# Start slide show
/usr/bin/feh --quiet --recursive --randomize --full-screen --slideshow-delay 7 /xxx/xxx/foyer/upload/files/ &

exit 0
And that's it. That should give you a fully working digital signage system based on a simple slideshow of images.
There's more development that I'd like to explore, including using some push switches on the GPIO ports to run a set of scripts for perhaps displaying a particularly screen. Maybe the week's house points chart, or weather information etc. I also have a Pi Camera which I would like to hook up, and perhaps it could be accessed through pushing another button? Who knows. With the Raspberry Pi powering the screen, the possibilities are endless, unlike many of the corporate solutions which tend to be quite finite.
Exciting possibilities ahead. If you have a really fabulous idea to develop the Pi Screen further, do let me know by adding a comment below.
More products can be found on the Farnell website, see Vishay and Panasonic


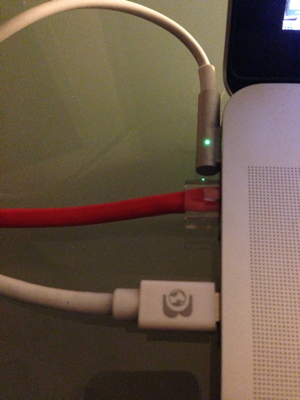
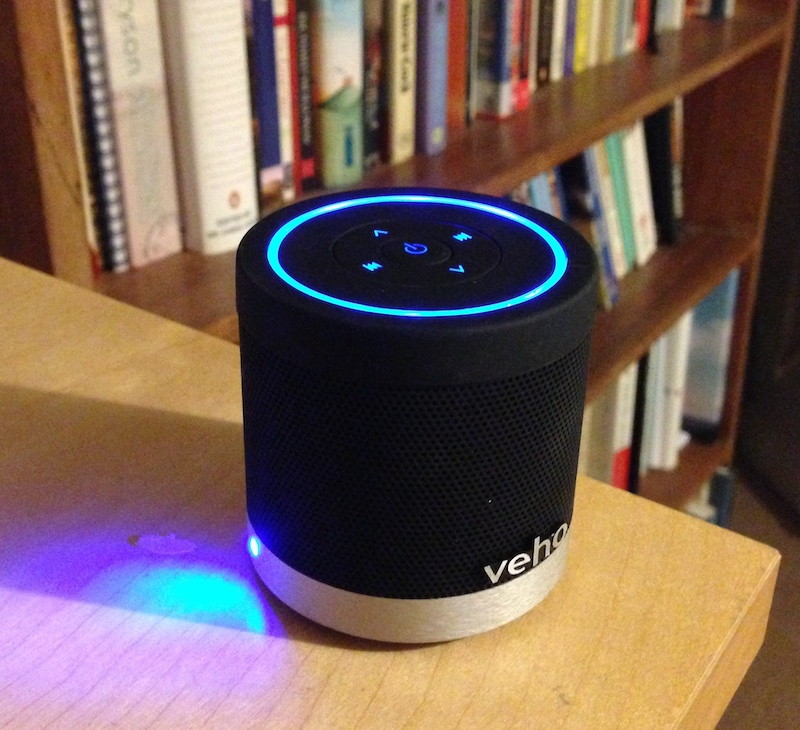
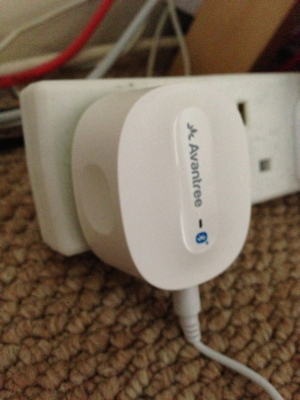 One of my bug bears is having plugin my phone into a cable to listen to music. With a cable plugged in to the phone, it becomes "tethered" to my desk and therefore don't have quite the same freedoms to use it as a phone.
 Last week, I ordered a
 The
The 

 Tonight is TeachMeet night, at the BETT 2013 show. It's a complete sell-out, and was within minutes of the tickets going live.
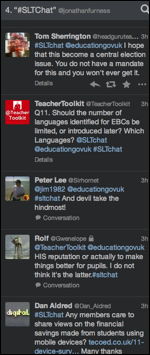 Twitter really can be one of the best forms of CPD that teachers and senior leaders can access and engage with. This evening I participated in the weekly #SLTChat session hosted by Ross McGill (
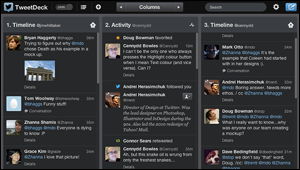 TweetDeck
 These a-JAYS are unusual in that I wouldn't have chosen the brand ordinarily. I'd have opted for more familiar, bigger brands such as Sony, JVC etc.
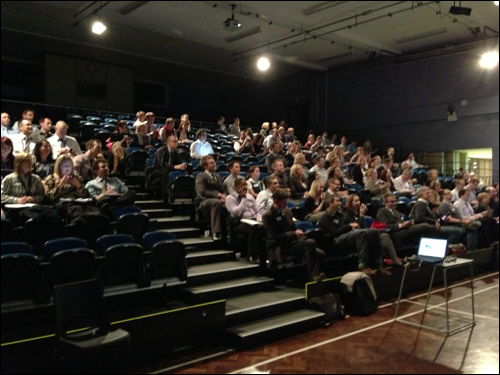
 There's always been a longing to be able to download clips from the ever popular YouTube site. It seems that YouTube continually change their web interface which restricts various tools from being able to download content. I've been using